Showing posts with label coif. Show all posts

Battle of the Nations

Because you know, you need some place to bend all those tin cans, unless you plan on keeping them gathering dust and rust in some corner.


What IS the Battle of the Nations? Taking the name from that OTHER Battle of the Nations ,
its more or less an international medieval full contact combat tournament. Its not reenactment - more like LARP/SCA/WWF with swords and plate armor, but non the less - its pretty awesome in its own right. There are participating teams from half a dozen or more countries in several trials - 1 on 1, 5 on 5, full 21 on 21 etc.

There are teams from all over the world but the regulations and requirements are high.
 
For more info you can visit this Ukrainian site http://www.battleofthenations.com.ua/
It has english version as well.

You can also watch this short episode series on medievalists.net
http://www.medievalists.net/2011/11/11/battle-of-the-nations-tv-series/
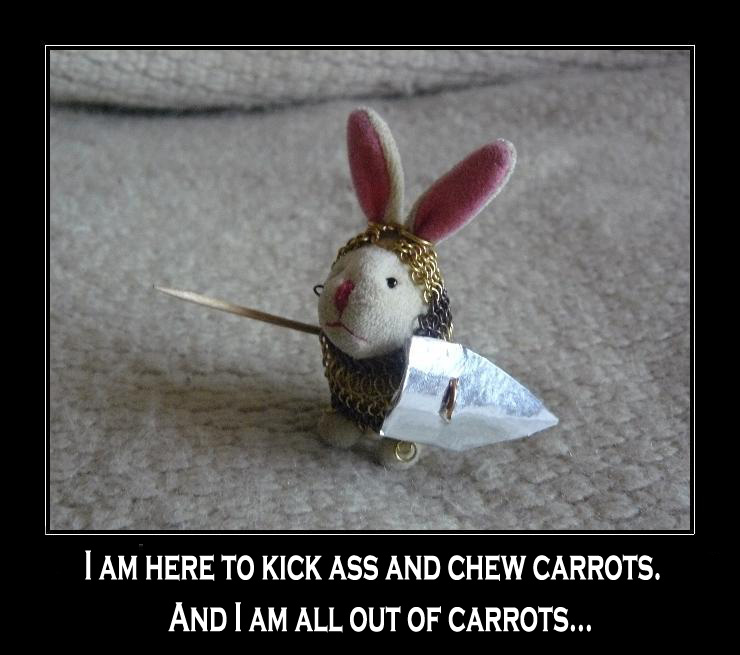
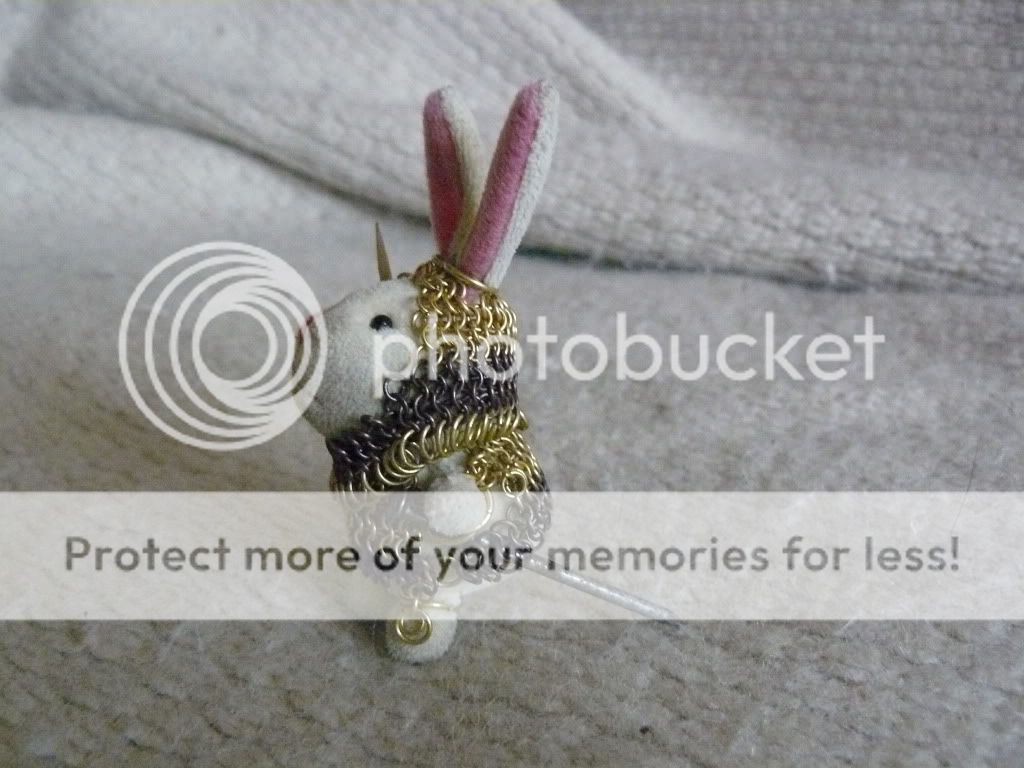
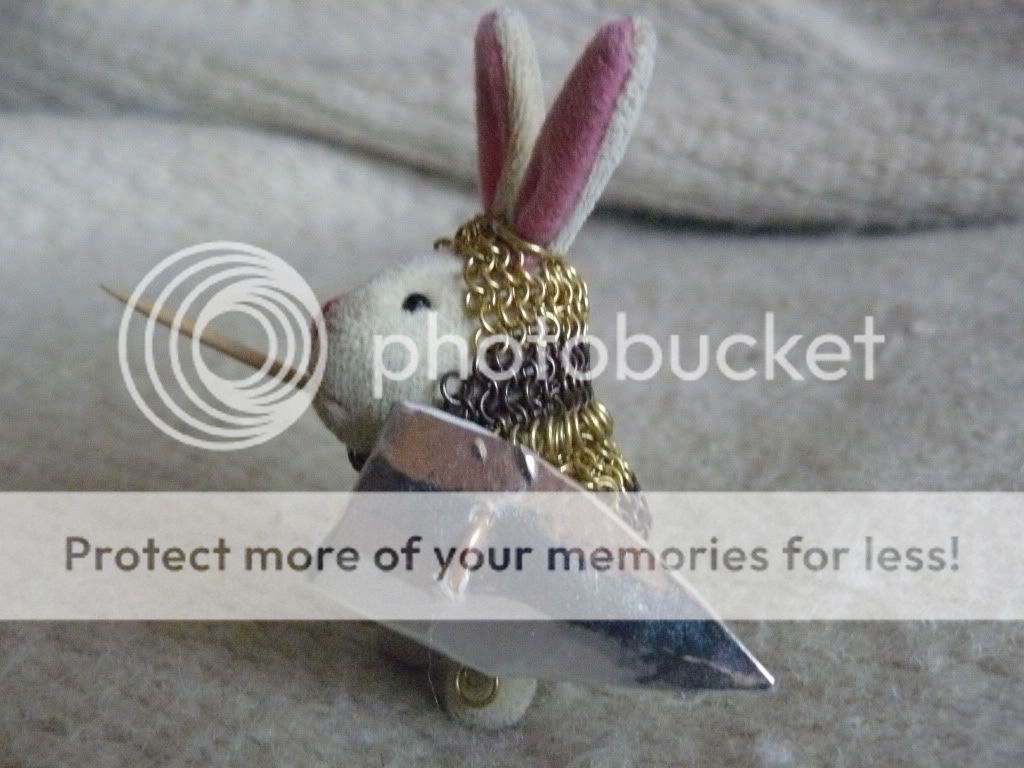
Sir Fluffy 2 Electric Bugaloo

Right, so I remade the coif - it looks much better than the old one and its a matching outfit now. Also gave him a nail sword.


Overall the first micromaille I am honestly proud of.  I mean come on - he is awesome :) .

On the art of chainmaille - making a coif part 5

Finally, its done, can't let my studies get in the way of armor making can we? The mantle piece can be made in many ways or not at all(if you want to attach the coif to a chainmail shirt norman style) In this case I used strips of 4in1 with expanding rows.


Look from above


Its a fairly short one, just enough to cover the neck, but you can stretch is afar as the shoulders if needed.


Link to previous part

http://drunkethic.blogspot.com/2011/09/on-art-of-chainmaille-making-coif-part_30.html

On the art of chainmaille - making a coif part 4

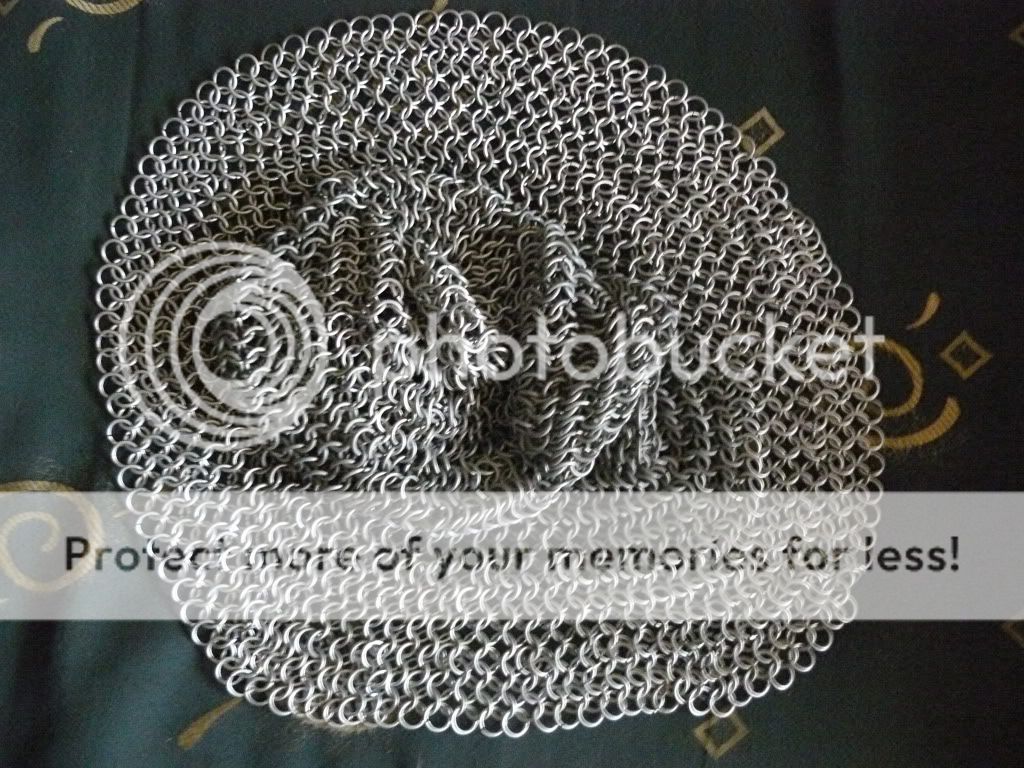
The top of the coif is the most complex part of it, so it gets a separate posting.


Now, how to get his done.


This shows the process only to the second line. You should keep adding rows until the necessary size is achieved.

On the art of Chainmaille - making a coif part 3

Right, we are down to the top piece. Here is a finished one. The top is the most complex part of it, so it's making will be shown separately.


We start attaching it. Might be best to put something inside.


And we are done in no time.


Now we have a completely usable coif, but we are not finished yet.


There is one last bit to attach and that's the mantle, but we will get to it soon.


 Link to previous part
http://drunkethic.blogspot.com/2011/09/on-art-of-chainmaille-making-coif-part.html

Link to part 4
http://drunkethic.blogspot.com/2011/09/on-art-of-chainmaille-making-coif-part_30.html

On the Art of Chainmaille - Making a Coif part 2

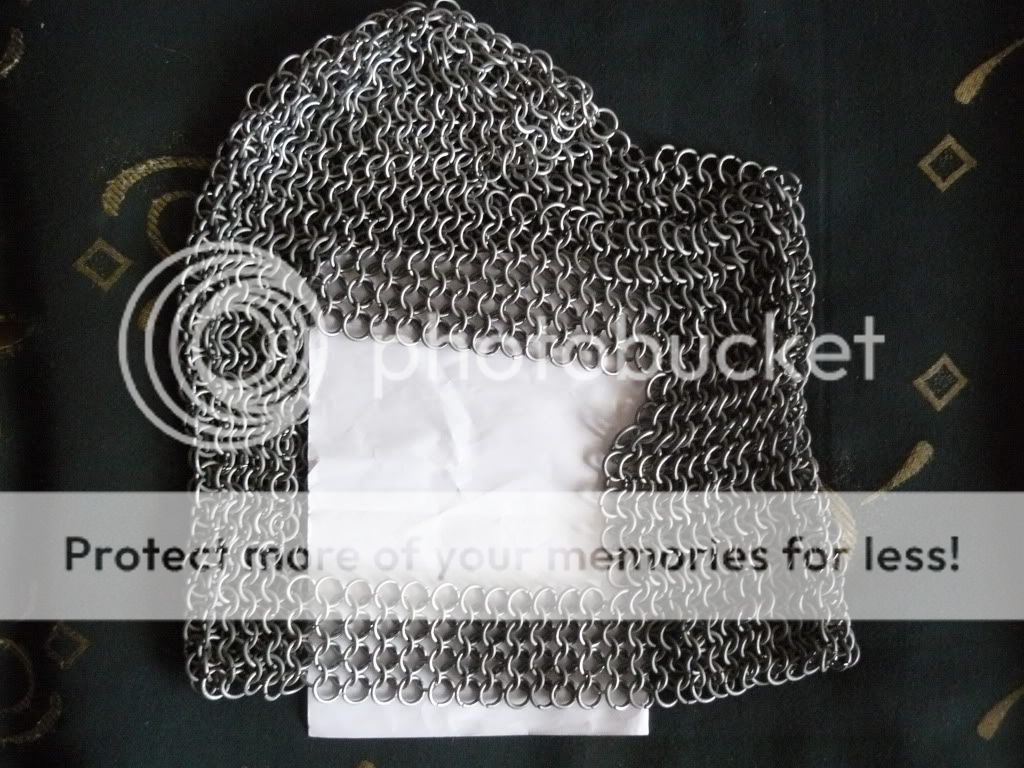
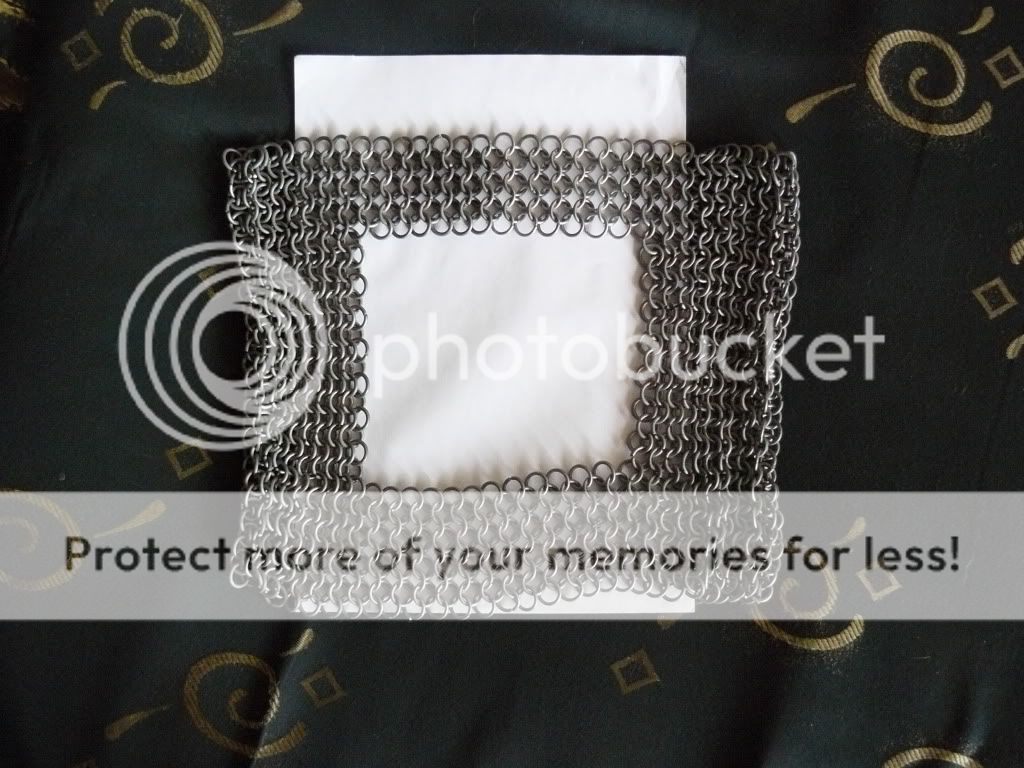
Right, now that we have the main piece, we join it with two small straps at what will soon be the forehead and the chin.


Before you continue, you need to count the rings of the top row(marked in red). For typical 2mm thick wire and 10mm inner diameter of the rings(sorry but i will use metric system -inches,gauges and the like are not for me) there should be around 50 - 70 rings, depending on the size of the coif.

 Link to previous part
http://drunkethic.blogspot.com/2011/09/on-art-of-chainmaille-making-coifhood.html

Link to part 3
http://drunkethic.blogspot.com/2011/09/on-art-of-chainmaille-making-coif-part_21.html

On the Art of Chainmaille - Making a Coif(hood of chainmail) part 1

Now as I said, I  showing the process of making a chainmail coif as we go through it step by step. This will take a while, since I AM actually weaving it right now and can't magic it in, so the guide will be spread over several posts. I will try to keep it as simple as possible.


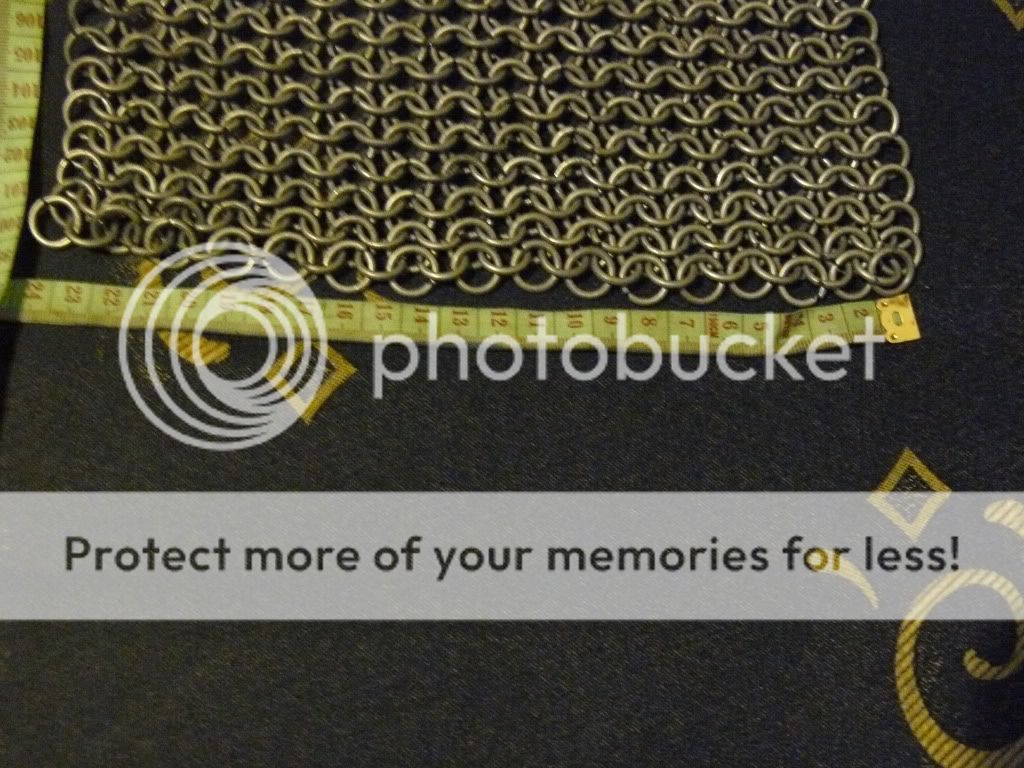
First thing you do is weave a rectangular piece of 4in1 european.


Its about 50sm. long and 24-25 wide. These are NOT standard numbers - I make it my own size. The piece reaches from the top of my forehead to the base of my neck, and from one temple to the other with additional 1-2 sm. of extra length for comfort and to have enough room to fit an arming cap under it. Thats the central piece of the coif. It will be closed with a small strap of chainmail by the forehead and with another slightly bigger piece for the chin. The other main parts are the top and the mantle, but we will get to them later. This one is the easiest, and you simply have to start with it to get the measurements for the other parts.

Part 2 is here:
http://drunkethic.blogspot.com/2011/09/on-art-of-chainmaille-making-coif-part.html
Older Posts ►
 

Copyright 2015 Drunkethic: coif Template by Drunkethic Template. Powered by Blogger