Showing posts with label medieval history. Show all posts

Chain& plate armor 2nd set progress report 1

Phew, we are finally getting somewhere. The second set of turkish armour is closing completion.The set is already wearable and fairly comfy. I'm yet to close the sides, but I've made  progress on that, I simply ran out of premade links - the ratio between plates and chainmail in this one is more in favour of the chainmail than the plate mail. Still its not as if I don't have enough wire to wind into new coils. Here's the new armour as worn by me. The curve of the belly plate isn't that good. Not an issue in its own right, its just that it will always be slightly tilted to the right. Since I'm not going for looks, that's ok. After all I'm recycling old bits and pieces, can't be picky.


The set in its current state and full length - once i close the sides, I won't be able to display it like this again. Its about 4-5 kilograms right now, I'd say it will be less than 10 kilograms once finished which would be slightly less than a chainmail shirt of comparable size.


 Here's a close shot at the back

 And another for the front. The neck hole is quite big right now, I will probably tighten it later on. First things first  of course.  I need to close the sides of the armour with two strips of chainmaille, then think about the shoulders and neck.  I'd say short sleeves are in order here. A coif with a bigger mantle could cover the neck area decently too.

On the art of chainmaille - making a coif part 5

Finally, its done, can't let my studies get in the way of armor making can we? The mantle piece can be made in many ways or not at all(if you want to attach the coif to a chainmail shirt norman style) In this case I used strips of 4in1 with expanding rows.


Look from above


Its a fairly short one, just enough to cover the neck, but you can stretch is afar as the shoulders if needed.


Link to previous part

http://drunkethic.blogspot.com/2011/09/on-art-of-chainmaille-making-coif-part_30.html

On the art of Chainmaille - making a coif part 3

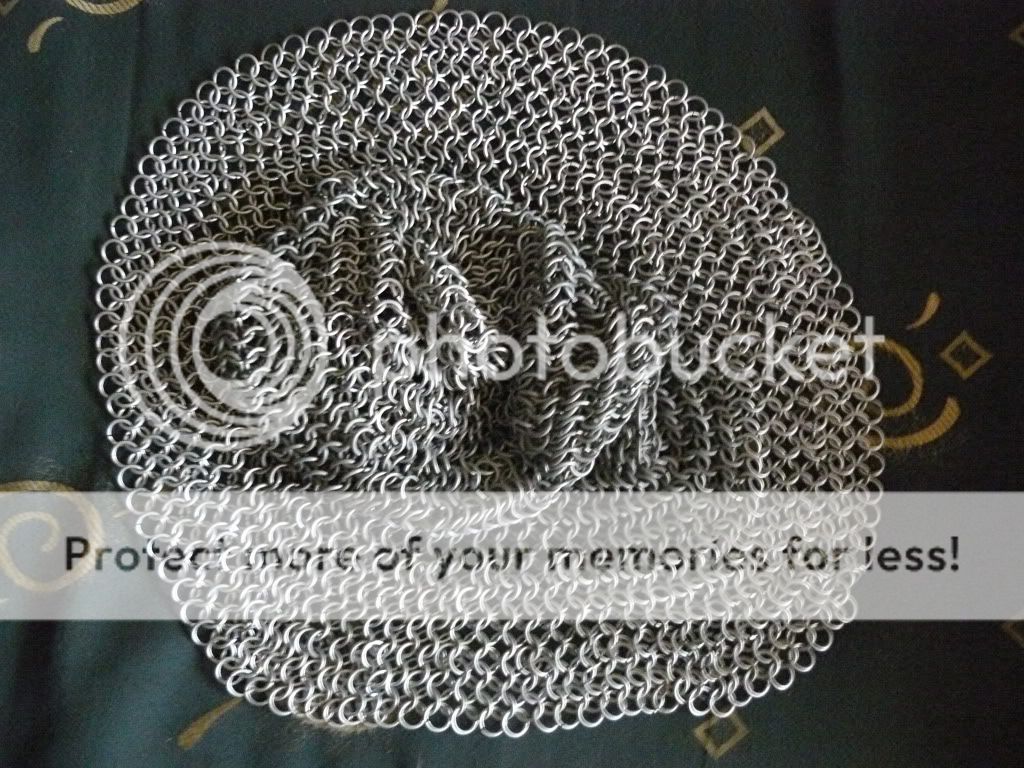
Right, we are down to the top piece. Here is a finished one. The top is the most complex part of it, so it's making will be shown separately.


We start attaching it. Might be best to put something inside.


And we are done in no time.


Now we have a completely usable coif, but we are not finished yet.


There is one last bit to attach and that's the mantle, but we will get to it soon.


 Link to previous part
http://drunkethic.blogspot.com/2011/09/on-art-of-chainmaille-making-coif-part.html

Link to part 4
http://drunkethic.blogspot.com/2011/09/on-art-of-chainmaille-making-coif-part_30.html

On the Art of Chainmaille - Making a Coif part 2

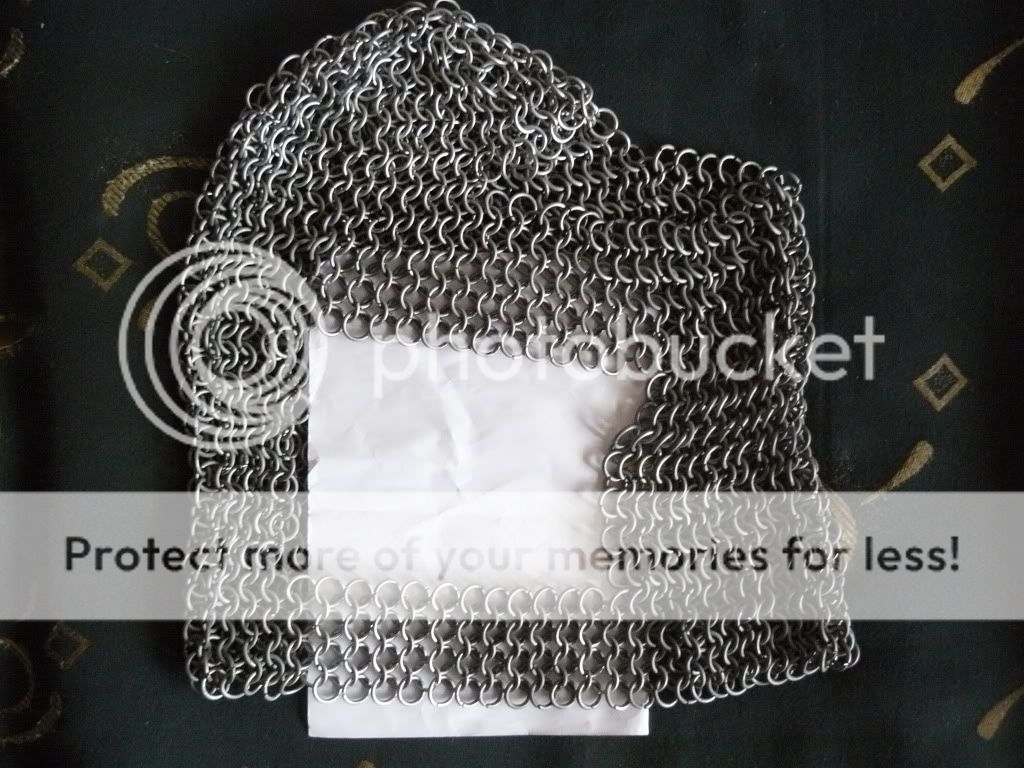
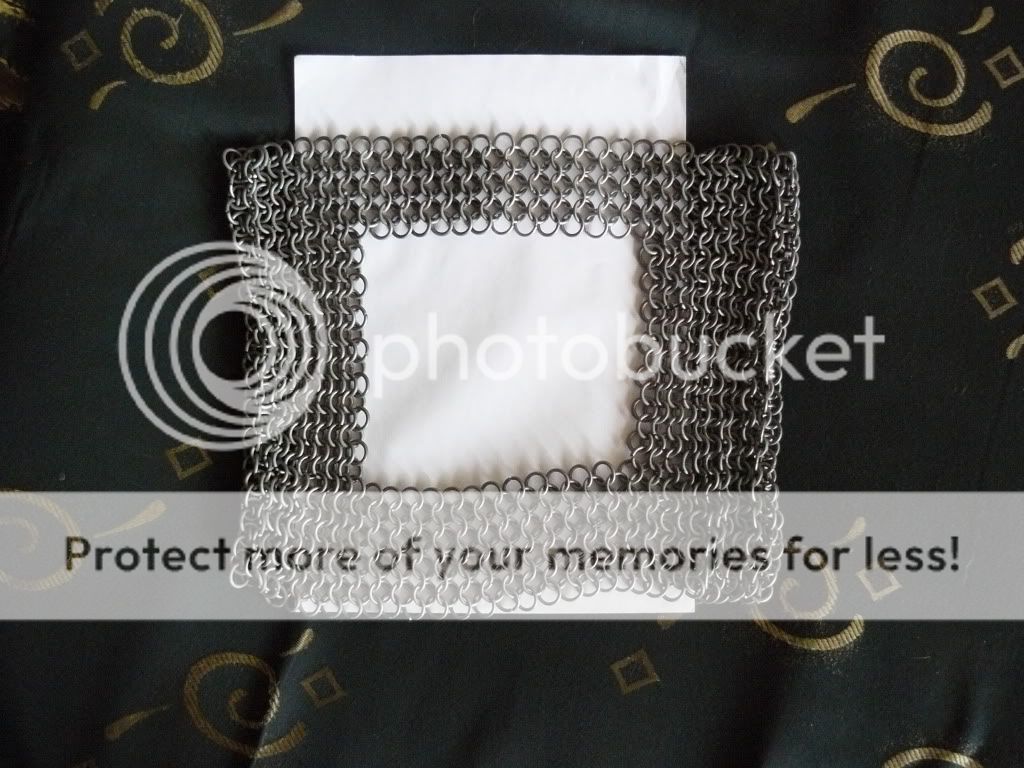
Right, now that we have the main piece, we join it with two small straps at what will soon be the forehead and the chin.


Before you continue, you need to count the rings of the top row(marked in red). For typical 2mm thick wire and 10mm inner diameter of the rings(sorry but i will use metric system -inches,gauges and the like are not for me) there should be around 50 - 70 rings, depending on the size of the coif.

 Link to previous part
http://drunkethic.blogspot.com/2011/09/on-art-of-chainmaille-making-coifhood.html

Link to part 3
http://drunkethic.blogspot.com/2011/09/on-art-of-chainmaille-making-coif-part_21.html
Older Posts ►
 

Copyright 2015 Drunkethic: medieval history Template by Drunkethic Template. Powered by Blogger