Home » Archives for September 2011
On the art of Chainmaille - making a coif part 3
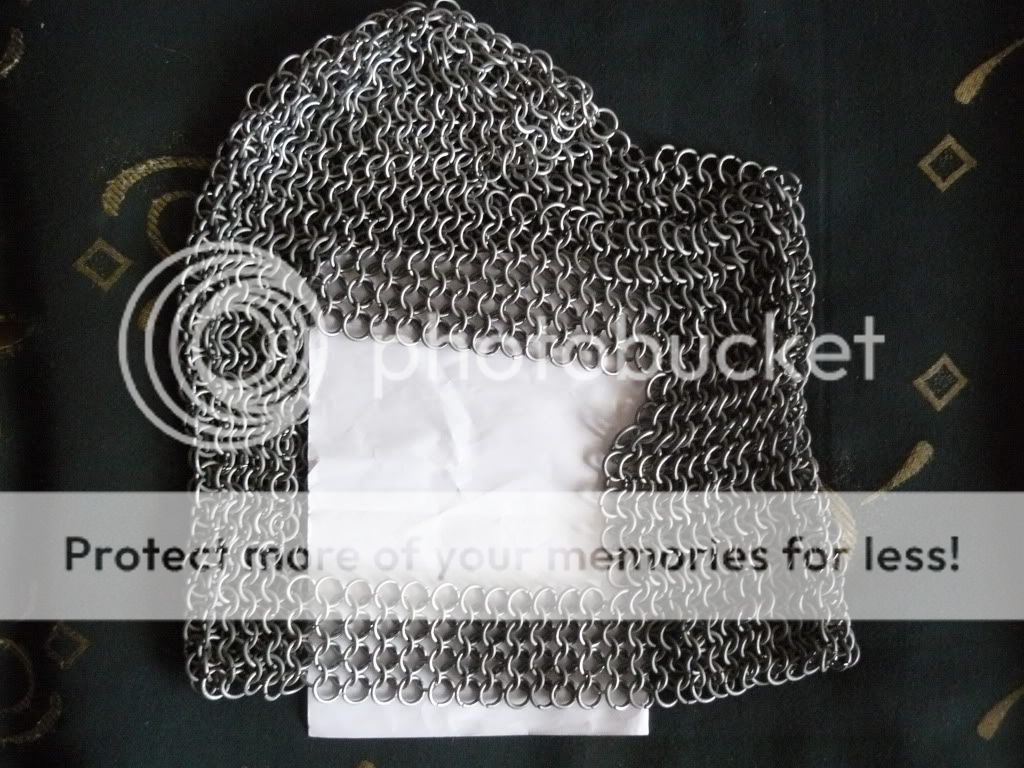
Right, we are down to the top piece. Here is a finished one. The top is the most complex part of it, so it's making will be shown separately.
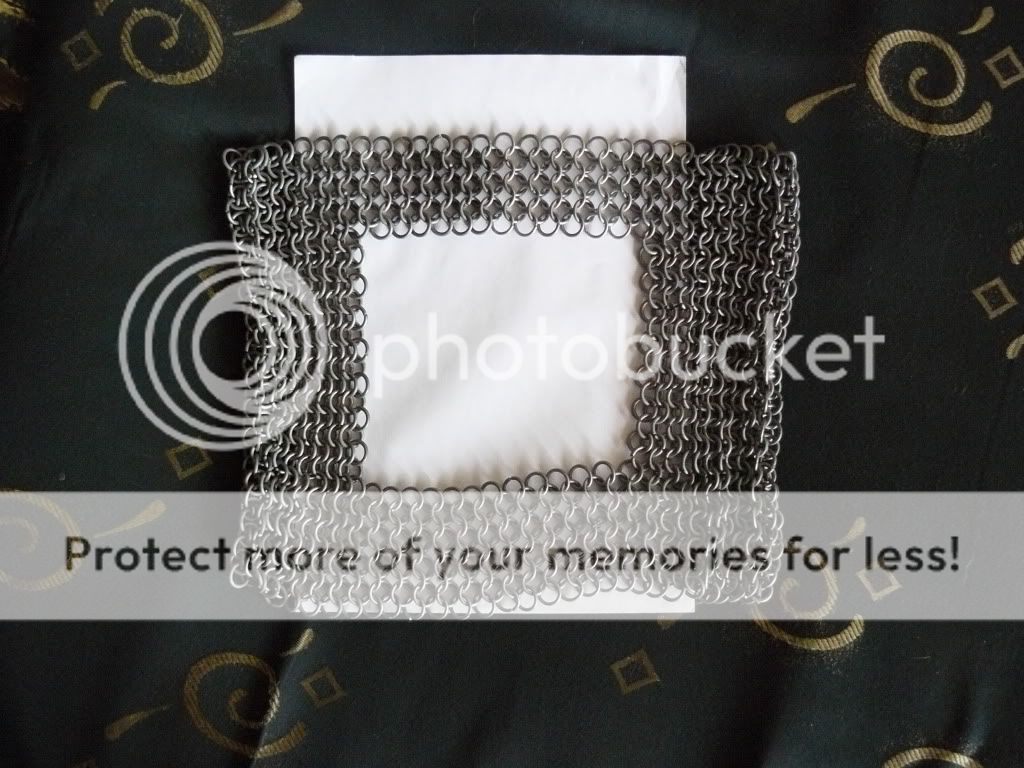
We start attaching it. Might be best to put something inside.
And we are done in no time.
Now we have a completely usable coif, but we are not finished yet.
There is one last bit to attach and that's the mantle, but we will get to it soon.
Link to previous part
http://drunkethic.blogspot.com/2011/09/on-art-of-chainmaille-making-coif-part.html
Link to part 4
http://drunkethic.blogspot.com/2011/09/on-art-of-chainmaille-making-coif-part_30.html
Плетене на ризници - койф част 3
Така, опряхме до капака, време е да го слагаме.Ето един завършен капак на койф. Той е най-сложното в цялата конструкция и ще бъде показано как се прави отделно.
Започваме да го монтираме. Най добре е да се подпъхне нещо отдолу.
И готово.
Койфът вече е използваем макар и недовършен.
Последното което ще се добави е мантията.
Започваме да го монтираме. Най добре е да се подпъхне нещо отдолу.
И готово.
Койфът вече е използваем макар и недовършен.
Последното което ще се добави е мантията.
Last day of freedom
Well, its on tomorrow - official ceremony and all that aaaaaand the university year starts in earnest. Can't say I am too happy about that. Program for the first semester is already out and it seems I will be busy 6 days in the week. Adding injury to insult, most of the lectures and courses are around midday, which means that with travelling time included, I will use up the whole day no matter how many hours I actually have there. That will mess up my intern job like nothing else. Quite annoying really. Being last year as I said before does not help things, state exams etc and a full time job are waiting on the horizon, and the fact that I have lost much of my initial taste for studying law and practising it brings some bad implications. I am not too thrilled with an attorney's position - now that I have seen the system first hand. True law is not limited to attorneys and lawyers, there are many other jobs for someone who has studied it, but a quick search has shown me, law students are among those have the hardest time finding a job relevant to their studies. I can't even start something else in the same university. Since its state sponsored, taxes for the semester are very low, but you can't sign in again once go through it once even if you are willing to pay much more. That leaves only the private universities as a possible choice and they are expensive to say the least.
On the Art of Chainmaille - Making a Coif part 2
Right, now that we have the main piece, we join it with two small straps at what will soon be the forehead and the chin.
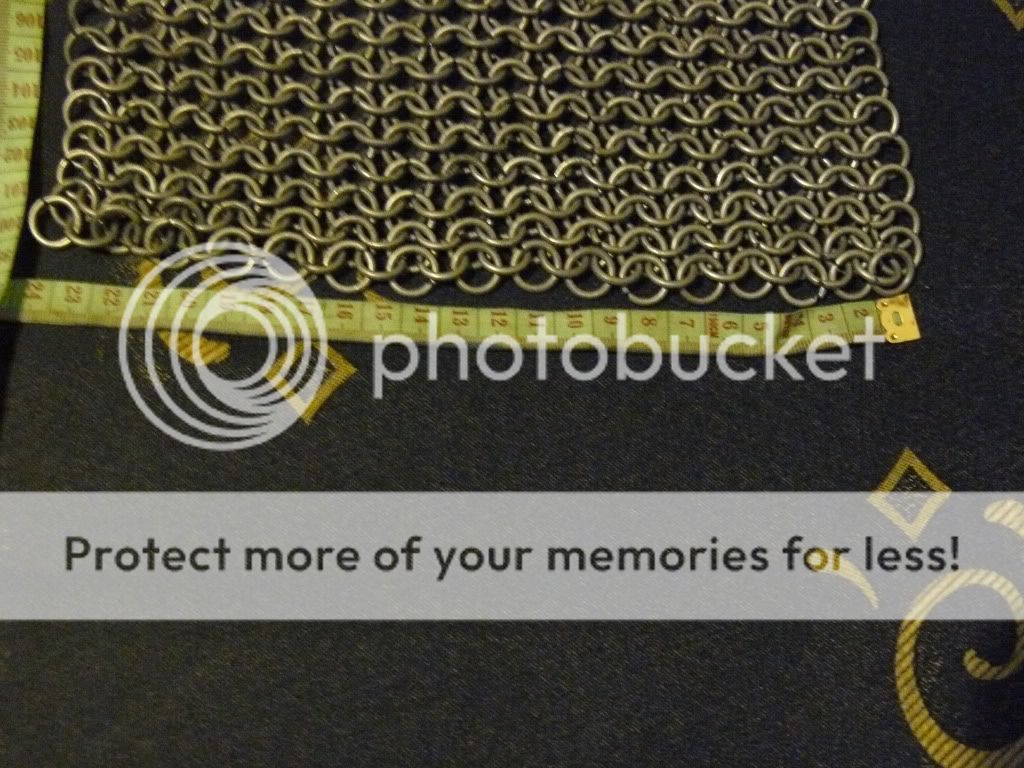
Before you continue, you need to count the rings of the top row(marked in red). For typical 2mm thick wire and 10mm inner diameter of the rings(sorry but i will use metric system -inches,gauges and the like are not for me) there should be around 50 - 70 rings, depending on the size of the coif.
Link to previous part
http://drunkethic.blogspot.com/2011/09/on-art-of-chainmaille-making-coifhood.html
Link to part 3
http://drunkethic.blogspot.com/2011/09/on-art-of-chainmaille-making-coif-part_21.html
Плетене на Ризница - Койф част 2
Така.
Вече имаме основното парче, сега го затваряме отгоре и отдолу с две малки ленти.
Лицето ще се дооформи на финала. Засега не е нужно.
Преди да се продължи със следващата част - правенето на капака, трябва да се преброят халките от горния ред(маркиран в червено) При стандартни 2мм тел, 10мм вътрешен диаметър, ще са между 80 и 90.
On the Art of Chainmaille - Making a Coif(hood of chainmail) part 1
Now as I said, I showing the process of making a chainmail coif as we go through it step by step. This will take a while, since I AM actually weaving it right now and can't magic it in, so the guide will be spread over several posts. I will try to keep it as simple as possible.
First thing you do is weave a rectangular piece of 4in1 european.
Its about 50sm. long and 24-25 wide. These are NOT standard numbers - I make it my own size. The piece reaches from the top of my forehead to the base of my neck, and from one temple to the other with additional 1-2 sm. of extra length for comfort and to have enough room to fit an arming cap under it. Thats the central piece of the coif. It will be closed with a small strap of chainmail by the forehead and with another slightly bigger piece for the chin. The other main parts are the top and the mantle, but we will get to them later. This one is the easiest, and you simply have to start with it to get the measurements for the other parts.
Part 2 is here:
http://drunkethic.blogspot.com/2011/09/on-art-of-chainmaille-making-coif-part.html
Плетене на ризници - Койф(качулка) - част 1
Таака започвам бавно и подред да описвам изработването на обикновен койф с мантия, като правя такъв в момента. Ще ми отнеме доста време, така че това ще бъде описано в няколко отделни поста, и на всеки елемент ще се отдаде подобаващо внимание. Ще гледам да го описвам като за първолаци.
Така. Първото с което аз започвам, е едно правоъгълно парче ризница 4в1.
Дълго е около 50 см и широко около 24-25см, като това НЕ СА ориентировъчни цифри - мерил съм по себе си. Стига ми от едното слепоочие до другото и от челото до основата на врата, като има 1-2 см допълнително свободно място на ширина, за да не стяга и за подшлемник. Това е централната част на койфа. Тя ще се затвори с две малки парчета - къса лента за челото и малко по голяма за брадичката. Другите основни части са мантията и капака, за тях по късно. Тъй като това е просто един голям правоъгълник, е най лесно и удачно да се почне с него, пък и размерите на другите части се взимат спрямо него.
University year starting in less than a week.
Winter is coming.
The winter semester that is...but more generic winter IS coming too, however not in quite a while. Anyway, I study Law in the local UNWE, being last year student now - 5 out of 5 years. This will be hardest and most demanding obviously, with state exams at the end. Now since I also work part time in a small lawyers firm as an intern in about 2-3 weeks time my update schedule will become sketchy at best I don't think i will have much free time, if any at all.
The winter semester that is...but more generic winter IS coming too, however not in quite a while. Anyway, I study Law in the local UNWE, being last year student now - 5 out of 5 years. This will be hardest and most demanding obviously, with state exams at the end. Now since I also work part time in a small lawyers firm as an intern in about 2-3 weeks time my update schedule will become sketchy at best I don't think i will have much free time, if any at all.
New day, new purchase.
Like I said, I went to that store today and too my time browsing their inventory. It was well stocked and to be honest I could not buy half the things I wanted but I still did not leave empty handed and made some notes for the future investments - a monocle or magnifying glass for a starters. The reason why?
Well, here you can see the gold links I used to make the previous ring compared to the golden and copper ones I bought today with a coin and a nail clipper to get an idea for the dimensions we are talking about.
I made another ring out of them as you can see, using both the copper and gold but my eyes are very tired and hurting like hell. I won't be trying something that small for a while.
I apologise for the poor quality of the photos - but I can barely see right now.
Resupply in Monday and current status.
Right, I'm going back to that store to buy more golden rings of various sizes and whatever else i find useful(especially very small pliers- i sorely need tools for jewellery as mine as sorely inadequate and too crude for this ) I have also prepared enough pieces for a chainmail hood - a coif as it's called but I will need some more time to get them ready, make the photos and so on.
Gold by the Bear stream!
Well, not really but the next best thing.
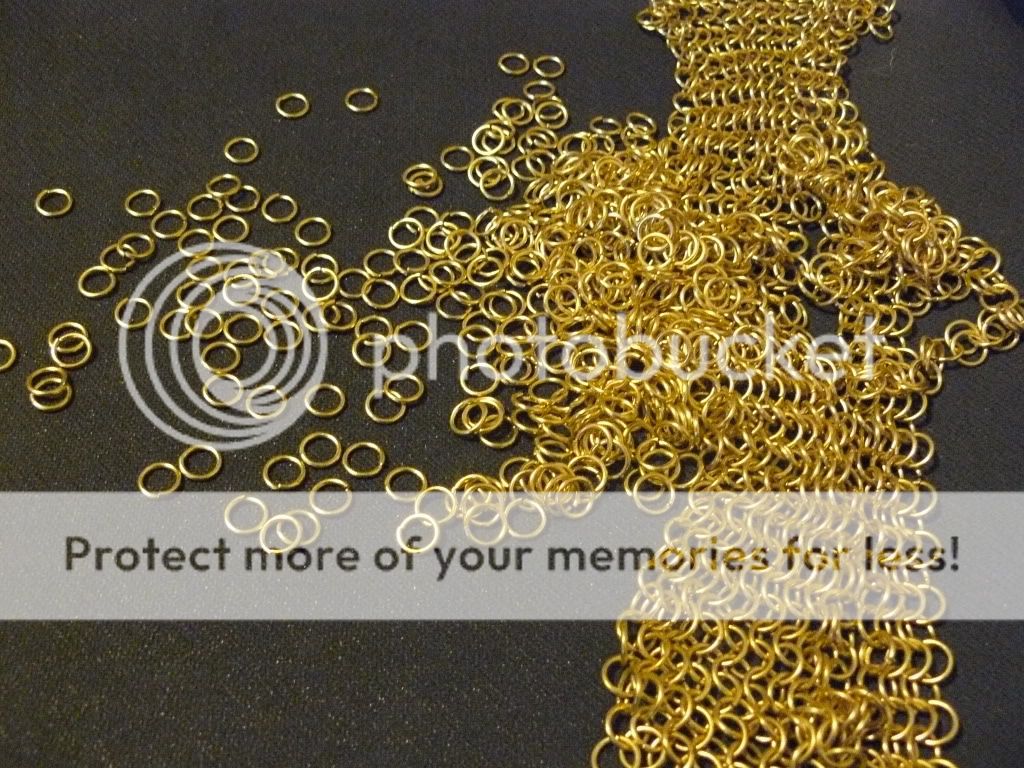
So, I got myself 250 grams of gold-plated copper rings at the price of 20 levs which would be 10 euro or 14-15 dollars. Now, I normally don't do jewellery but I just couldn't resist a bargain. I already wove some of it in simple 4in1 just to see how the rings are handling. Now I wonder what to make from them...(And no, Im not making Amazonian battle thong, even though its tempting. )
Achieving the 5 year plan in 7 days
100 followers...eh, not bad for a newbie. Though its likely the chainmail bikini helped a lot.
Note to self. Produce more chainmail bikini. Find girls for models.
Note to self. Produce more chainmail bikini. Find girls for models.
On the art of Chainmaille - possible future projects
Right, now while I can keep making the videoclips, they only show possible weaves, not achieved results. This does not depend on me and me only, since big projects take time and money. In the near future I will make first a coif with mantle and quite possibly dedicate several posts on it showing the whole process, and when I eventually receive another order for one - a chainmail shirt. Of course I can't give any time tables especially for the second one.
On the art of Chainmaille - Dragonscale
Dragon scale is not easy to make. Its very thick and inflexible(but looks good). Not saying this is the best way to do it, but its mine. You need 2 types of rings and the small ones should be able to pass through the big ones.I am using differently colored rings to make it easier to discern what goes where. The rule of thumb is, that small rings only go through big rings and vice verca. Small rings do not link with other small rings and vice versa.
Плетене на ризници - Драконови люспи
Драконовите люспи не са лесна плетка. Не твърдя че това е най-удачния начин за плетене, но това е моят. Нужни са два вида халки, като по малките трябва да могат свободно да минават през по-големите. За удобство използвам халки в различни цветове за да се вижда коя от къде минава. Малки халки НЕ преминават през малки халки, както и големи през големи.
Subscribe to:
Comments (Atom)


